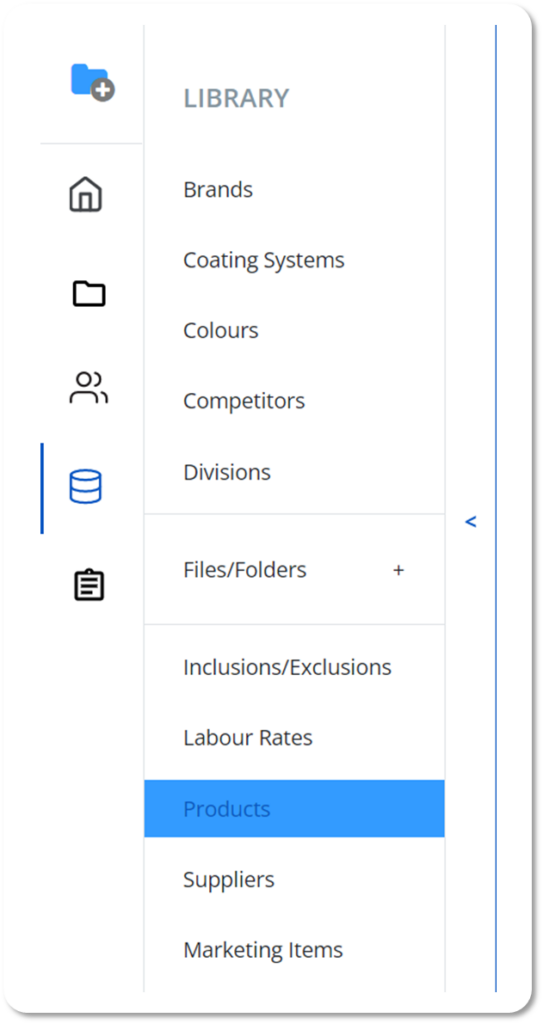
Navigate to the Library via the Page Navigation Menus on the left, and select Products.

Search for which Brand you want to add the Product to and select it.
Click the CREATE NEW PRODUCT button on the top left of the screen.
Fill out all the relevant details:
Title – The name of the product.
Finish – Choose the type of finish for the product (e.g. Gloss, Matt, Satin, etc.).
Quality – Choose the quality of the product (e.g. Premium, Trade, Budget, etc.).
Base – Choose the base of the product (e.g. Water-based, Solvent-based, Oil-based, etc.).
Product Code – The unique code assigned to the product.
Upload Spec File – Upload the specification file for the product.
Upload MSDS File – Upload the Material Safety Data Sheet (MSDS) for the product.
Upload Product Image – Upload an image of the product.
Sizes – Enter the sizes of the product and their corresponding costs.
Application Methods – Tick the relevant application methods for the product and their corresponding spread rates.
A completed Product might look like this:

Double check all the details and make sure that they are accurate.
Once you have filled out all the details and double checked the details, click the CREATE button to add the product to the system.